Compost
‘Good Compost For Horticulture’
Jim Cronin
- Proper ratio of ingredients – 50% brown : 50% green.
- The stack or windrow is ideally 1.5 metres high x 1 metre wide and as long as required. The longer the better.
- 10% of the stack is soil as an inoculator.
- The gardener starts with a brown layer well fluffed up of 30 cm depth.
- After this the material can be layered or pre mixed on a slab. The important consideration is that the brown / green ratio is observed.
- It is crucial that the following happens with temperature:
- Slow climb in temperature taking 5-7 days.
- The temperature rises to 63 degrees Celsius and stabilises, that it remains constant for six or seven days.
- A gradual decline happens after six days and the temperature settles to the ambient temperature for the time of the year.
- Temperature of the heap is stable and no further sudden rises in temp occurs.
Avoid
- Excess moisture (rain).
- Smearing the ingredients with a tractor loader bucket or similar.
- Compaction and anaerobic spots.
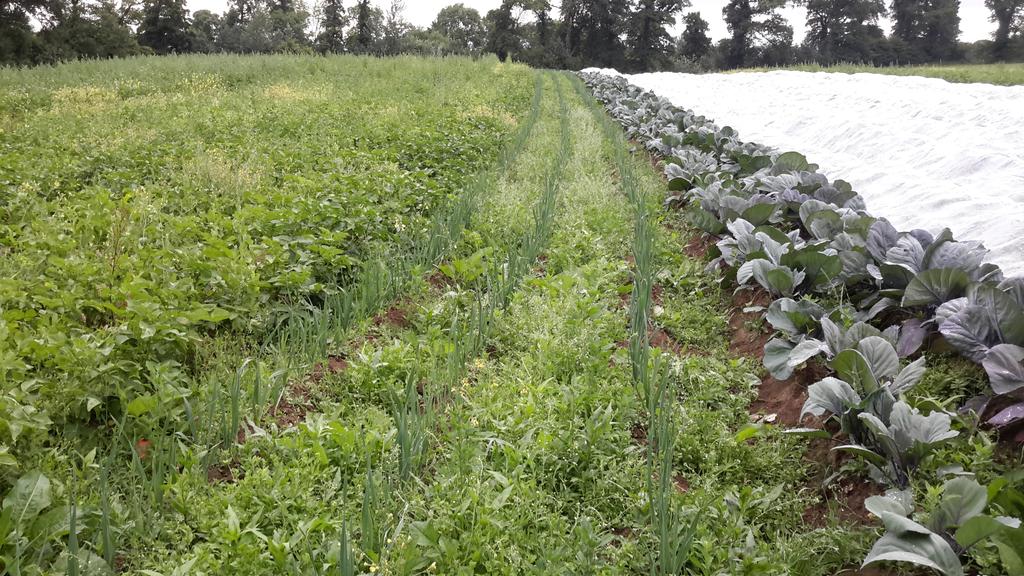
Good compost is one of the keys to a weed-free garden. Our potatoes are weed-free at Garraunboy , Killaloe, Co Clare. They received no hand weeding and made a nice crop .
SEE PHOTOS: Poor & good quality compost produces these results. 1st photo is uncomposted. 2nd is composted.


THIS ONE IS FOR HOBBY GARDENERS
- Compost heaps are ideally placed in a sunny position.
- If you can place the heap on soil or sod as opposed to concrete or tarmacadam.
- The ration of ingredients is very important, so 50% brown, 50%green.
- Brown material is an ingredient that is slow to rot and goes earth like / forest floor like if left in a bag eg straw, cardboard, soil, dry rushes etc
- Green ingredients are quick to rot and go smelly and gunky if you leave them in a plastic bag eg household compost material such as tea bags, coffee grains ,citrus , vegetable peelings.
- So you start with a brown layer, say a generous amount of straw 25 cm. Well fluffed up with lots of air.
- Next a green layer of say 10 cm – thin is best. NB Spread the ingredients over the entire surface area.
- Follow with a brown layer of equal thickness 10 cm. Remember well spread out with plenty of air.
- On you go …filling away ….the quicker that you fill the better .
- Finish with a brown layer and a hat shape. Cover with a tarp or a metal roof.
For more info and details on temperature, turning etc my composting course is available online from NOTS website.


Listen to a short podcast with Jim Cronin about composting here:
About Jim Cronin
More information and a short film on Jim’s farm here. Ambassador since 2020
‘How to build a compost cage’
Thomas O’Connor
See HERE the document Thomas put together for us with photos on how to build a compost cage for attracting worms.
About Thomas O’Connor
More information and a short film on Thomas and Claire’s farm here. Ambassador since 2019

